
While there are a lot of stereotypes surrounding the sewing of Cuben Fibre, working with this Fabric is quite simple.
Some people believe that sewing, bonding, and taping this material is quite tricky, or you might need some particular type of cutting item, which is not true.
Beginners should understand how this Fabric works, and they are good to go. For instance, while making something from Cuben, you might need to incorporate sewing, bonding, and taping to seal it and make it waterproof.
To find out more about Cuben Fiber or Dyneema, let’s look at each of the following topics independently.
Sewing Cuben Fiber?
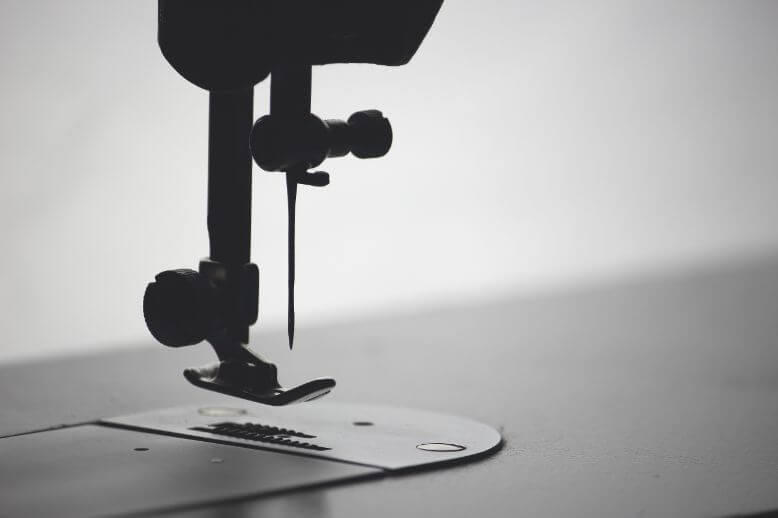
Sewing cuben fiber, also known as Dyneema, is not rocket science; all you will need is special cutting equipment like scissors, an affordable sewing machine, and maybe some item for measurements like a tape measure.
Before starting the sewing process, you will also need a solid plan of what you are interested in Sewing from this Fabric. If you are a beginner, you should first practice using some cheap material because Cuben Fiber is quite expensive.
Cuben Fiber or Dyneema Composite Fabric is sewed using a particular thread manufactured from Dyneema, known as Xtreme-tech.
This thread features properties like maximum strength at low weight. And just like the Dyneema itself, it is also fifteen times stronger than steel.
Bonding Cuben Fiber
Dyneema can be bonded together using pressure adhesive tape or sewing using a DCF thread.
Usually, Dyneema is sewn together, but the needles used to sew DCF TO DCF create punctures, which weakens the Dyneema Fabric, compromising its integrity where it has been stitched. This can lead to the failure of the material over time.
Though there are many methods used in bonding, the preferred methods are those that won’t compromise the material integrity.
For Beginners, taping is the simplest method as it is straightforward and does not require a lot of things like a sewing machine or thread in order to bond.
How to bond Dyneema
There are three different methods that can be used to bond Dyneema fabric.
- Bonding with PSA tape
- Stitch and Sealing
- Heat welding
These three methods are simple for beginners who have never worked with Dyneema Fabric before. Let’s look at each of the methods in detail.
Bonding with PSA tape
The Pressure Sensitive Adhesive bonding method is a simple, beginner-friendly method for bonding tarps and DCF tents. This allows for adequate strength while only adding the minimum weight to the Dyneema Fabric.
There are various PSA tapes in the market; you should choose one that will provide the best compromise when it comes to low weight, peel, and still possess shear strength.
Bonding the DCF to DCF using the Pressure Sensitive Adhesive tape is self-explanatory and straightforward once you have the FabricFabric and the PSA tape. You must simply be taping one PSA cut FabricFabric and then placing the other on the other side of the glued Tape after. Just ensure that the surfaces are clean during this process.
The bonded parts can be heated after to accelerate the bonding strength/cure time of the bonded DCF fabrics. This will also make the bond much stronger. A heating temperature of 135 degrees celsius is recommended. If using an iron box, be very cautious to avoid melting the Fabric.
Stitching and Sealing
This is a very simple way of bonding Dyneema Fabric. It entails sewing the Fabric first to bond together then sealing it with tape to seal the punctures and ensure it is waterproof and its quality has not been tampered with.
- First, the Fabric is stitched together using a sewing machine. This is to join the two Fabrics together for different designs like backpacking or carry designs.
- After stitching, a single side PSA tape is used to reinforce the stitch lines to make it waterproof and ensure the Fabric’sFabric’s integrity is not compromised.
- This Tape can be either hand or machine applied on the seam to seal it.
- This method is suitable for beginners because it only needs a clean design, sewing machine, steady hands, and small fixtures to assist in taping the seals
Heat Welding
Though not as simple as the first two but still beginner-friendly, another bonding method that can be used is heat welding. This method allows for the creation of seamless items and doesn’t compromise on their strength.
For this method, all that is needed is a heat press that has perfect temperature control. The temperature used should not exceed 135 degrees celsius. To bond, the seams are aligned and tacked using iron and are very steady to ensure no movements.
After it is placed under the heat press, a liner or release paper can be used for alignment or removing the item from the press. Press for 30 seconds or one minute, and then the bound will have been secured.
Any of the above methods can be used in bonding Dyneema; the first two are very beginner-friendly as they do not require a machine like a heating press.
How to tape Dyneema Fabric
Taping Dyneema is one of the many ways to bond Dyneema Fabrics to each other. Some people prefer sewing their Dyneema Fabrics and then sealing them with Tape on the seals, while others will seal with the Tape only without stitching.
A special pressure Adhesive Tape is used for taping DCF Fabrics. The Tape is two-sided hence bonding the Fabrics on both sides.
To Tape the Dyneema Fabric, here is a simple procedure that can be followed.
Procedure
- Since the Tape is double-sided, first remove the paper liner from one side, apply the Pressure Sensitive Adhesive Tape and then apply it to the seam. Use a surface that is clean and dry,
- After removing the second liner from the Tape already placed on the DCF and align and attach it with the second DCF fabric as you remove the liner.
- Lastly is the heat curing step, where you can place your taped FabricFabric on the heat with temperatures not exceeding 135 degrees celsius. Heating after taping is essential because it strengthens the taped bond after a few days.
Taping Cuben Fiber
DCF is best joined or bonded by taping or a mix of both sewing and taping.
Items made using Dyneema Composite Fabric can be made using either of the two methods. Taping is mainly preferred because it doesn’t add extra weight to the FabricFabric or compromise the Fabric’sFabric’s high-quality performance.
Sewing has to be reinforced with taping to ensure any punctures made on the seams during sewing do not reduce the material’s performance. This also ensures that the material remains waterproof.
Though the best method is taping, making some items may require sewing, depending on the user preferences or the item being made.
Best way to attach Cuben together
There are various methods of attaching Cuben; the best way of attaching Cuben together is through taping it.
Taping is relatively easy, and it seals the Fabric without increasing weight or making punctures on the seams, which might compromise the material integrity.
While some people sew and then tape the fabric to make it waterproof and ensure that quality is not compromised, this will still depend on what the material is used to make or simply a beginner’s preference.
Dyneema Composite Fabric or Cuben Fiber is the world’s strongest fiber. To make items from this Fabric, it has to be either Sewn, taped, or bonded. Beginners who haven’t used this material before may find it challenging to use it, but with the correct information and tools, it is the most straightforward material to manipulate.
See related: VX07 vs. VX21 XPAC For Backpack – Beginners Guide
Sources
https://www.youtube.com/watch?v=g_0f8DM9Ab4
https://www.youtube.com/watch?v=wSyfoecZCSE
https://ripstopbytheroll.com/blogs/the-grid-online-blog/tips-for-making-with-dyneema